Navigation auf-/zuklappen
How to set up Mail Collector
The Mail Collector feature allows you to import emails from third-party accounts into your GMX inbox. You can change your Mail Collector settings any time.
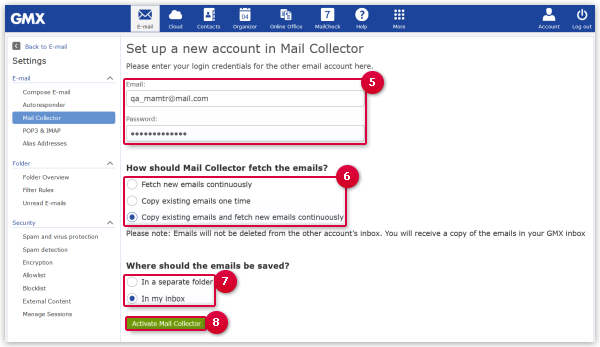
How to set up Mail Collector for a Gmail, Yahoo or AOL account
-
Click on Activate Mail Collector.
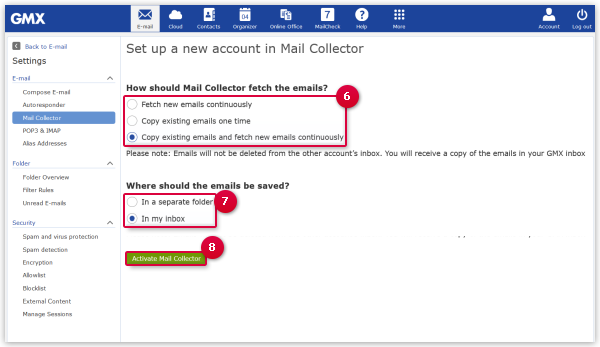
How to set up Mail Collector for other accounts
-
Click on Activate Mail Collector.
Was this article helpful?