Enabling automatic backup and synchronization for your Cloud in your GMX Mail App for iOS

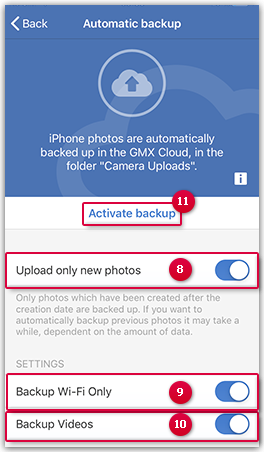
The automatic backup feature automatically syncs existing camera photos when you first launch the app. Afterwards, new camera photos are synchronized as soon as you take them, i.e. the backup starts automatically in the background according to your settings, even if the app is not active.
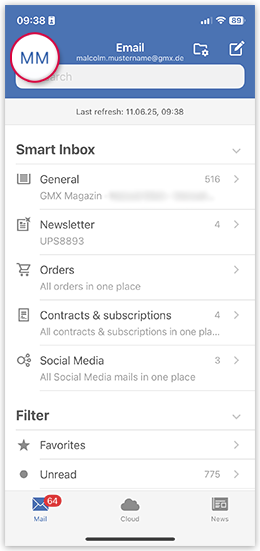
Info:

To preserve your mobile data, we recommend synchronising only via Wi-Fi connection.

  1. Tap the menu symbol in the menu bar.
    The menu navigation will appear.
  2. Tap Settings.
  3. Tap Cloud settings.
  4. Tap Automatic photo back-up and then Configure back-up now.
    When activating for the first time, a notification window will open: here you must open the settings of your device to grant the app access to your photos.
  5. Tap Open settings in the notification window.
    The settings will open.
  6. Tap Photos and then check the box next to Read and write.
    Access to photos has now been activated for the GMX Cloud App for iOS.
  7. Go back to the GMX Cloud App for iOS to carry out the settings alterations described in the following steps.
  8. Specify whether you only want to back up new photos by swiping the Backup only new photos switch to the right (standard setting).
    Only photos that are taken after the time of activation will be backed up. If you wish to back-up existing photos as well, this may take a while, depending on the data volume in question.
  9. Specify whether files should only be uploaded via a Wi-Fi connection and not using your mobile network by swiping the Backup Wi-Fi only switch to the right (standard setting).
  10. Specify whether videos should also be backed up by swiping the Backup videos switch to the right.
  11. To begin the automatic backup of photos, tap Activate backup.

    Backup

iPhone photos will now be backed up automatically in the “Camera uploads“ folder in the Cloud. All of your uploaded photos can be found in the “Camera uploads” folder, which also contains sub-folders for each month (e.g., “2017-10”).

Was this article helpful?