Adding files and folders
Access your GMX Cloud via the GMX Mail App for iOS to add files and folders.
Uploading files
Upload elements such as photos or videos and use Cloud synchronisation to gain access to your files at any time and anywhere, from your smartphone, tablet or PC.
-
Tap Upload file.
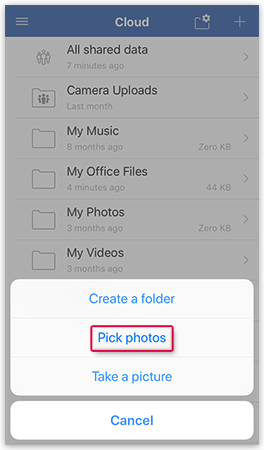
A window will open, showing all files and folders stored on the device.
Creating a new folder
Creating new folders in your Cloud can help you to manage your files more efficiently and make them easier to find.
-
Tap on Create a folder.
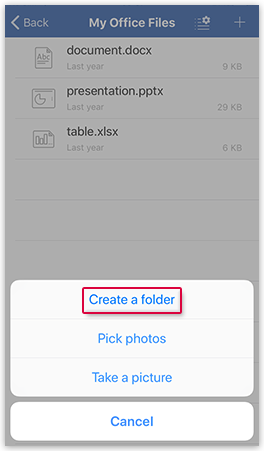
The Create folder window will open.
Taking photos
The GMX Cloud App for iOS offers you the option of taking photos directly from the app itself, using your device’s camera. The photos taken will then be saved directly in your GMX Cloud App for iOS.
-
Tap Take a picture.
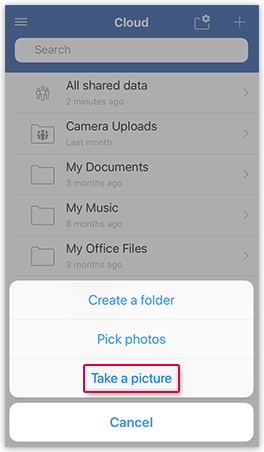
Your device‘s camera application will be opened.
Scanning a document
The GMX Cloud App for iOS offers you the option of scanning documents directly from the app itself, using your device’s camera. The scans taken will then be saved directly in your GMX Cloud App for iOS.
Was this article helpful?